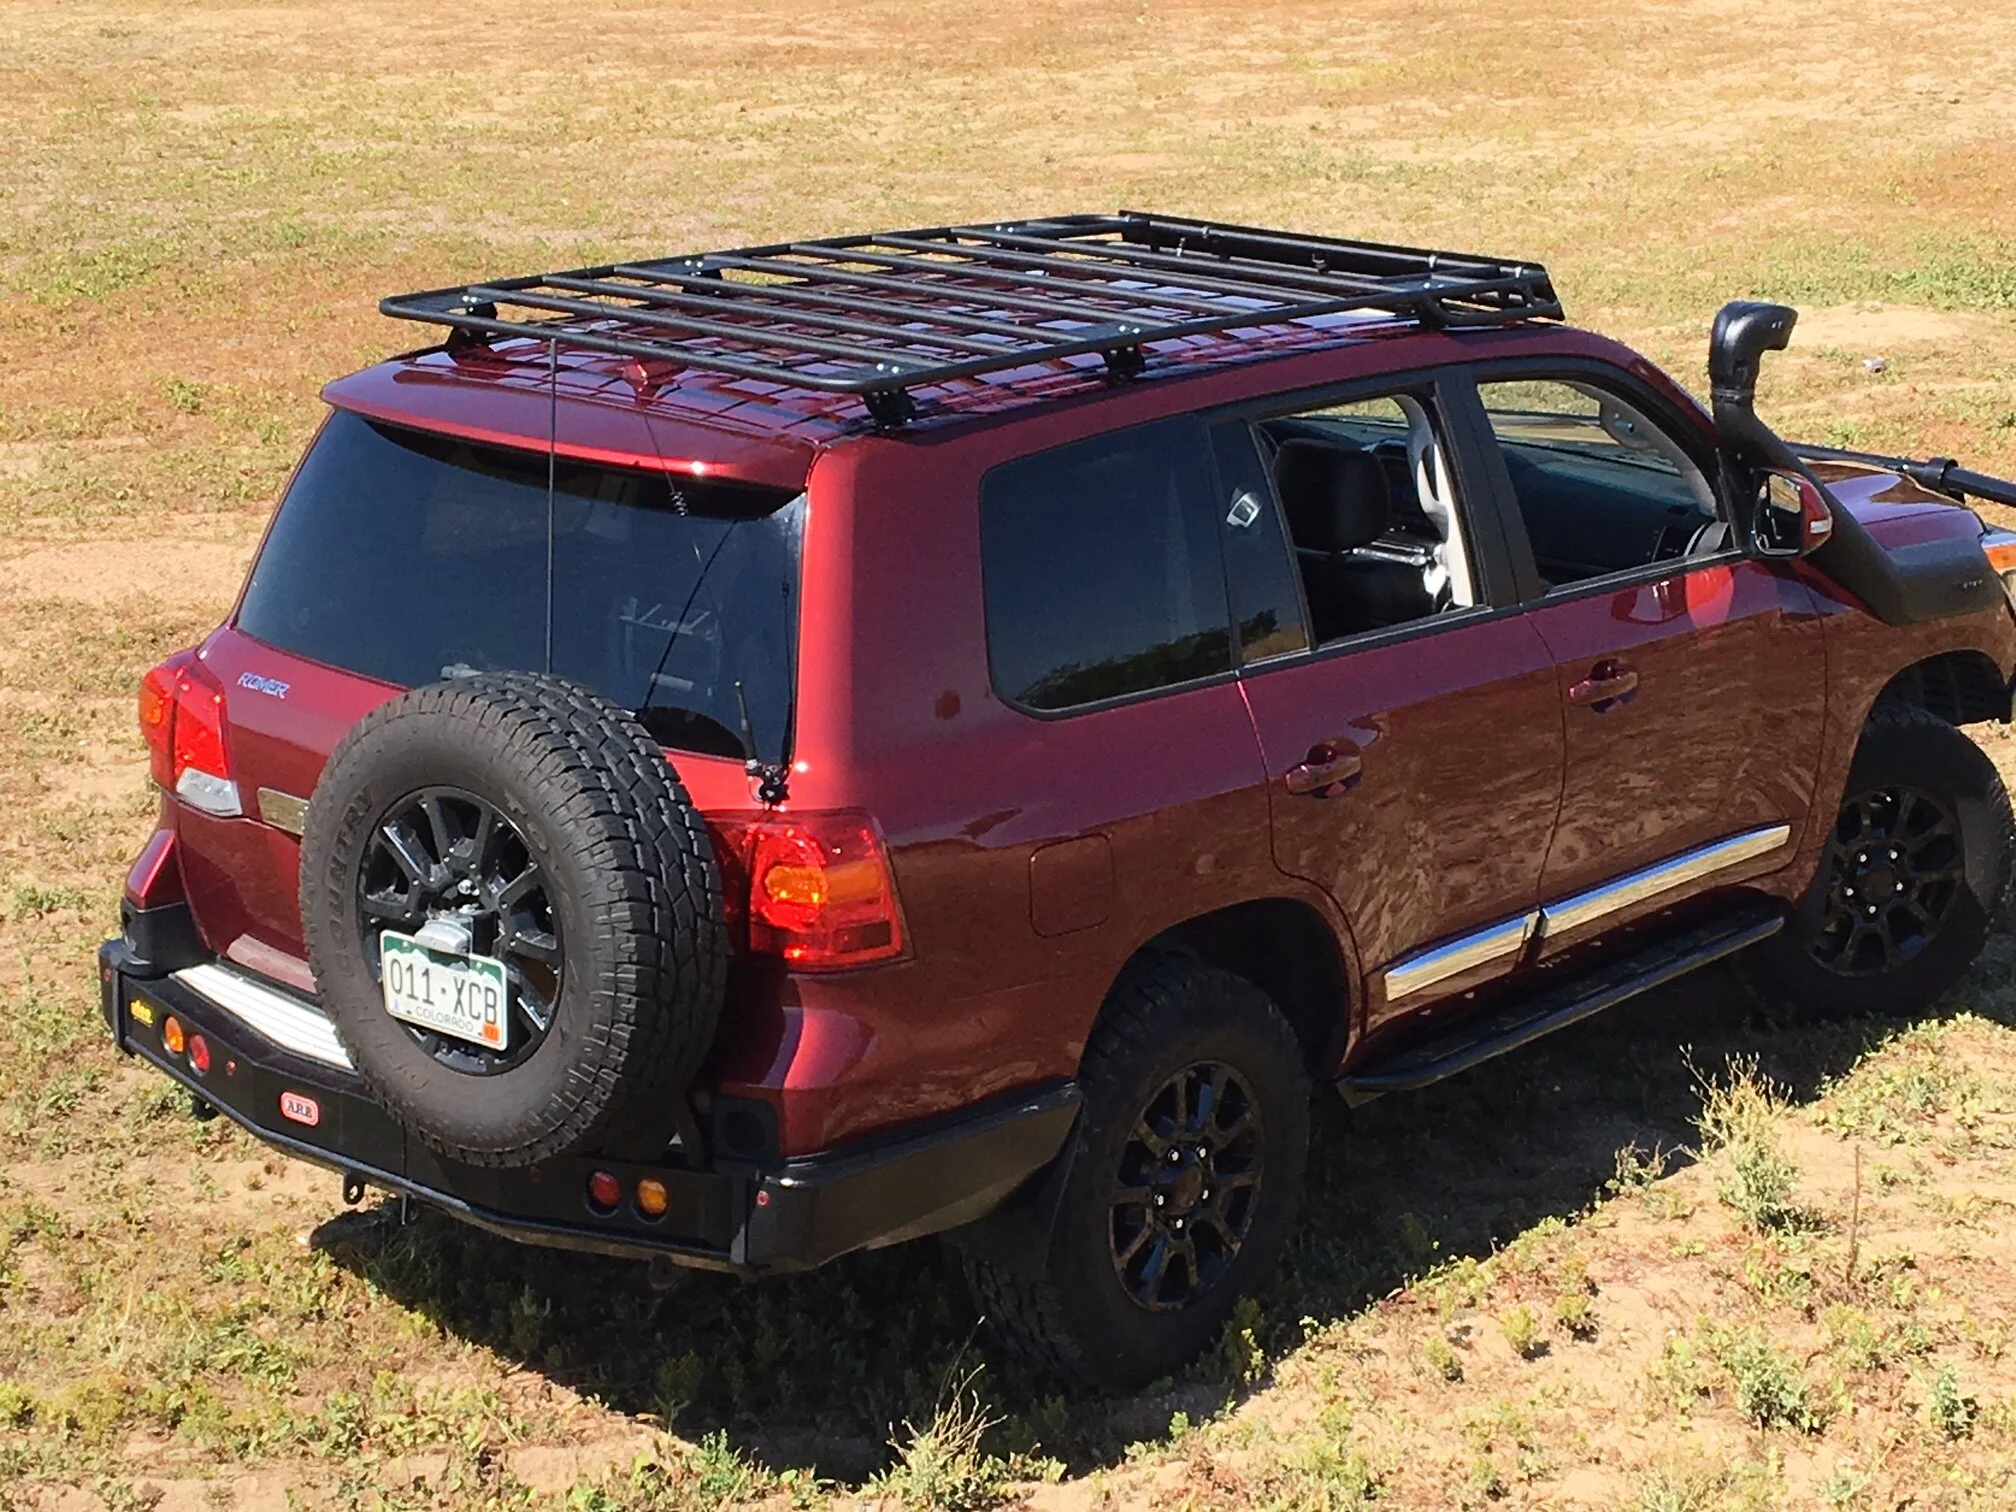
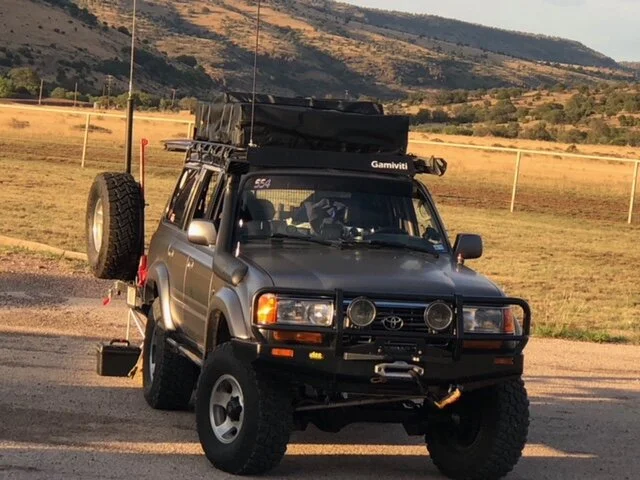
Fairings
Adding a front fairing is your best move towards reducing the wind noise and wind drag associated with adding a roof rack. We have developed a few custom approaches to this, and will match the best fairing solution to your roof rack based in your vehicle type, rack design, and intended uses. Most “expo down” racks will receive a fairing by default, as the support of the fairing across the front of the racks is one of the design elements of the Expo rack, run down. Most “expo up” and flat racks do not receive a fairing by default, however it is possible to add a fairing to anything. The information below is intended to help explain the differences between them, and provide additional pictures that will help with installation.
fairing shapes
New in 2020 we’ve released two new a new fairing shapes, called the “slim fairing” and the “super slim fairing.” The idea is to improve the appearance of the rack and fairing, still covering the gap between the Expo bar and main rack while and blocking most of the wind, but remove the part of the fairing that tapers down to the vehicle roof line. This shape comes pre-drilled for plastic snap-on clips, and will work with metal clips and bolt-on clamps with drilling new holes. We will continue to stock the more traditional-shaped tapered fairings for those who prefer that design, in two versions intended for snap-on or bolt-on applications.
Fairings are generally bundled with the roof racks, and ship for free with the rack. However if you’d like to purchase just a fairing separately, you can do so right here. We have multiple shapes, materials, and attachment methods to choose from, to best fit your rack. Plastic fairings are black ABS, the clear fairings are polycarbonate, both .1875” thick. Aluminum fairings are 6061 aluminum, powder coated black- the aluminum fairings do not flex as well as the black plastic ones, so are not recommended for light bar applications where removal of the fairing is recurring. Aluminum is better for more long-term installs where a stiffer fairing is desired.
Bolt on: tapered style fairing used for an Expo down rack where you’d prefer to have pipe clamps attach the fairing, rather than the snap-on plastic clips.
Tapered style, snap on. Most popular, recommended. Used on any Expo down rack with the larger 2.75” gap across the front (tapered Expo).
Slim style, snap on. Slimmer shape, used on any Expo down rack with the larger 2.75” gap across the front (tapered Expo).
Super slim style, snap on. Same as the slim fairing, used on any Expo down rack with the smaller 1.75” gap across the front (non-tapered Expo) or any Expo up rack with the top Expo bar sloped back.
Tapered style, clamp on. Same shape as the other Tapered fairings, but with special clamps to fit around a 1” OD tube. Also comes with rubber edging for the bottom edge. This fairing is mostly used on flat racks.
Clear tapered style, snap on. Same fairing shape as the other tapered snap-on fairing, but made from clear polycarbonate. For use cases when you don’t want to remove the fairing to use the light bar, or like the looks of a clear fairing.
Slim style, snap on. Same fairing shape as the other Slim style snap-on fairing, but made from clear polycarbonate. For use cases when you don’t want to remove the fairing to use the light bar, or like the looks of a clear fairing.
Super slim style, aluminum. Same super slim fairing, same attachment options, but made from .125” 6061 aluminum and powder coated black.
Slim style, aluminum. Same slim fairing, same attachment options, but made from .125” 6061 aluminum and powder coated black.
New Logos
In 2024 we introduced a new CNC machined fairing version, where instead of a vinyl sticker the logo is now engraved into the plastic. The result is a much better looking, longer lasting solution… and for those wishing to have an all-black fairing, the fairing can be simply reversed putting the logo on the back side.
Plastic Clips
This is a new feature launched in 2020, however it’s totally possible to retro fit these new clips to your older fairing. there are instructions for how to do so on the fairing installation page.
If you would like to purchase the plastic clips you can do so right here, price is just $25 for a set of 4 with hardware.
snap on fairing, expo racks
One of the many unique features to a Gamiviti Expo rack is the snap-on fairing. In 2020 we’re pleased to upgrade this to plastic clips, in place of the stainless steel metal clips. These new clips perform better to hold the fairing in place, and also don’t scratch the rack like the metal clips could.
Bolt-on Fairing, Expo racks
Bolt-on fairings use 1” pipe clamps across the top to secure the fairing to the rack. Additional pipe clamps can be placed on the lower Expo bar to reduce vibration, or bolting the fairing to the bottom of the rack if desired.
Flip-up fairing, Expo racks
Another unique innovation from Gamiviti with fairings is the flip-up fairing. It’s a combination of the bolt-on fairing and metal snap-on version, using the same pipe clamps across the top, kept intentionally loose, and 2 metal clips on the bottom to secure the rack when bolted down. The advantage of the flip-up fairing compared to the snap-on version is the fairing remains attached to the rack, and just flips up out of the way when the light bar is needed. The downside is the fairing in the up position creates a lot of wind noise- it’s fine for low speeds and trail runs, but out on the highway it is much more noticeable, and for that reason this fairing is not recommended.
Bolt-on Fairing, Flat racks and expo up racks
For flat racks there’s no second bar to support the fairing, just a single bar across the front of the rack. In these cases, to add a fairing we can weld on light tabs, angled down, which match up to the holes of our bolt-on fairings. Then your fairing is a simple bolt-on, held in place by the bolts and tabs, using the height adjustment of the rack to insure the fairing does not come into contact with the roof.
For Expo racks where it’s desired to always run “Expo Up,” we can also add these same tabs to the lower main hoop of the rack, allowing you to have a fairing below the Expo bar.
And for flat racks and Expo up racks where you decide later you want a fairing, we offer the clamp-on fairing which uses special 1” clamps around your rack and an added rubber edging for the bottom edge of the fairing where it rests on your roof.
Click this button to purchase the bolt-on fairing for flat racks.
Extrusion rack fairings & brackets
If you went and made your own rack out of 80/20 t-slot extrusions, or maybe you are just running a few extrusion cross bars, you may discover that you’ve got a lot of wind noise and would like to add a fairing to that. So for you, we’ve developed a custom stainless bracket that allows you to bolt one of our snap-on fairing shapes to your extrusion rack, and offer those as a package below. We also offer just the brackets, for those who wish to make their own fairing also.
Installation of the extrusion fairing bracket is simple.
Figure out what channel nut, channel bolt, etc. you are going to use to attach the bracket to your extrusion. This is not included- but you should already have this hardware, as you have been using it for every other bolt-on accessory on your extrusions. You just need 2 of them.
Position the brackets along the front edge of your extrusion, loosely.
Using a couple of the fairing bolts, position the fairing onto the brackets in the desired location.
Remove the fairing, tighten the brackets, then attach the fairing back onto the brackets and tighten with the supplied screws & flange nuts.
Use this button to order the brackets only. Set comes with 2 brackets, and 8 bolts & flange nuts to secure to any fairing.
Use this button to order the extrusion brackets and Gamiviti fairing as a package.
Snap on Fairing install videos
Watch these videos to see more about how mount a snap-on fairing to your roof rack.


