case installs
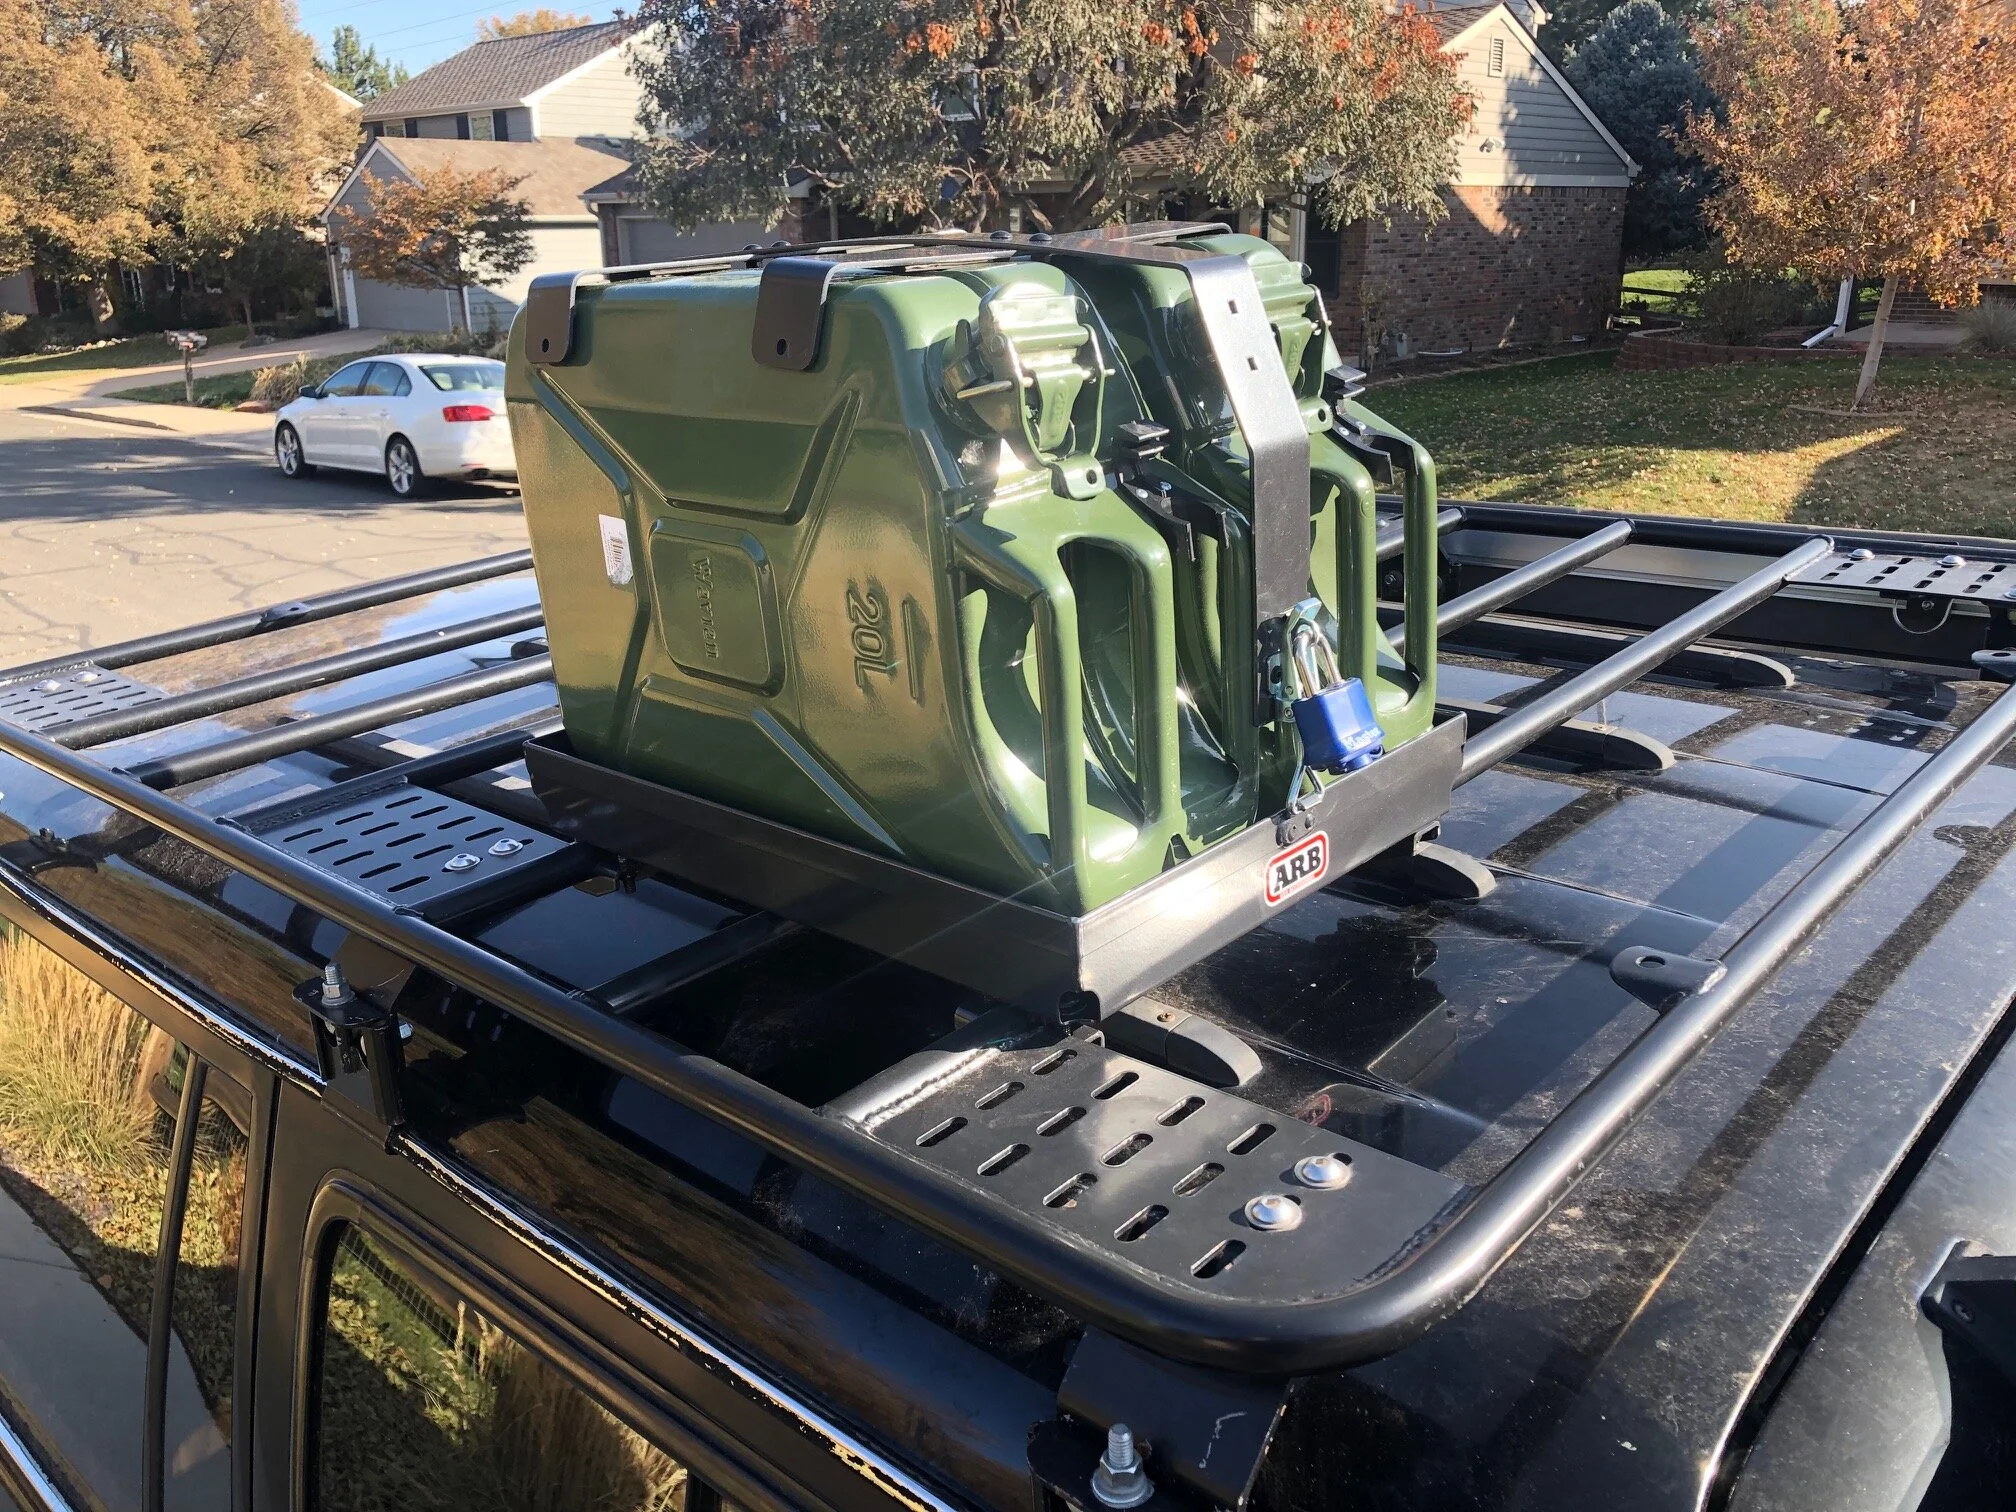
The ability to install a rigid case onto your rack is an essential feature, and to that end we’ve taken the time at Gamiviti to outline a few key solutions for you. Cases allow you to safely store smaller, looser items on top of your rack in an enclosed container, which keeps them in place while protecting them from the elements. Cases also provide instant access to your gear, no need to dig through that cargo area or drawer system, and they also allow you to quickly transport those items when the case install is designed to be removable, which has some other great advantages. This page is intended to give you a great jumping off point to developing your own case solution.
weight rules
A primary consideration for any vehicle build is weight- making sure you only add weight where necessary, and also putting it in the appropriate place on your vehicle. We have two simple rules when it comes to weight, which if you’ve spent any time on the phone with us or had any engagement with us through emails, you’ve likely heard by now. But they’re important enough that they bear repeating here, before we get any further into the installs.
Keep the weight low: This first rule is the eternal push to reduce your total vehicle weight. Really assess the gear you’re taking, make sure you need it, will use it, and it’s worth taking with you. Do you really need a pry bar? Do you need that spare CV axle? 4 backup cans of propane? what are those 16mm sockets for? Take a look through your gear, and make sure all of your items are needed. Point being, reduce the weight of your items as much as is practicle.
Keep the weight low: No, no, we didn’t just say that. But rather this next rule is the push to keep the weight as low on the vehicle as possible. Without getting too technical, the higher the weight is on your vehicle the worse it is, as it adversely affects your vehicle handling, stopping distance, and safety. So roof tents, tires, tools, hi lift jacks, and liquids tend to be some of the heavier items we are taking camping, while sleeping bags, stoves, chairs, and ground tents are among the lightest. So as much as is practicle with your setup, our suggestion keep the heavy stuff as close to the ground as possible, using the roof rack for more lighter items.
There is a great discussion on this topic in the Overland Journal Podcast episode on storage solutions, which you can find here. One key take-away is the term “reserve capacity,” one we’ve used ourselves on many occasion when discussing roof racks and load carrying abilities. If you’re new to the scene, or to refresh what you already know, that podcast is definitely worth a listen.
install Options
Ok with that background behind us, let’s get into some solutions for mouting those rigid cases.
Tube Clamps- Designed at Gamiviti, these clamps are designed to bolt any flat surface to a round tube on your rack bar. Intended for more permanent installs, you can drill holes through your case then bolt the case to your rack bar using tube clamps.
Rack plates- Every Gamiviti rack has at least 6 of these along the sides, with options to add even more, even in the center of your rack when you consider the stepping stone plates. The idea is you can drill holes through your case, then run a bolt through the case and plate, resulting in a rigid mount. Spacer washers are often needed to fill the gap between the plates and case, with both this solution and the tube clamps, to avoid excessive deformation of the case when tightening your hardware.
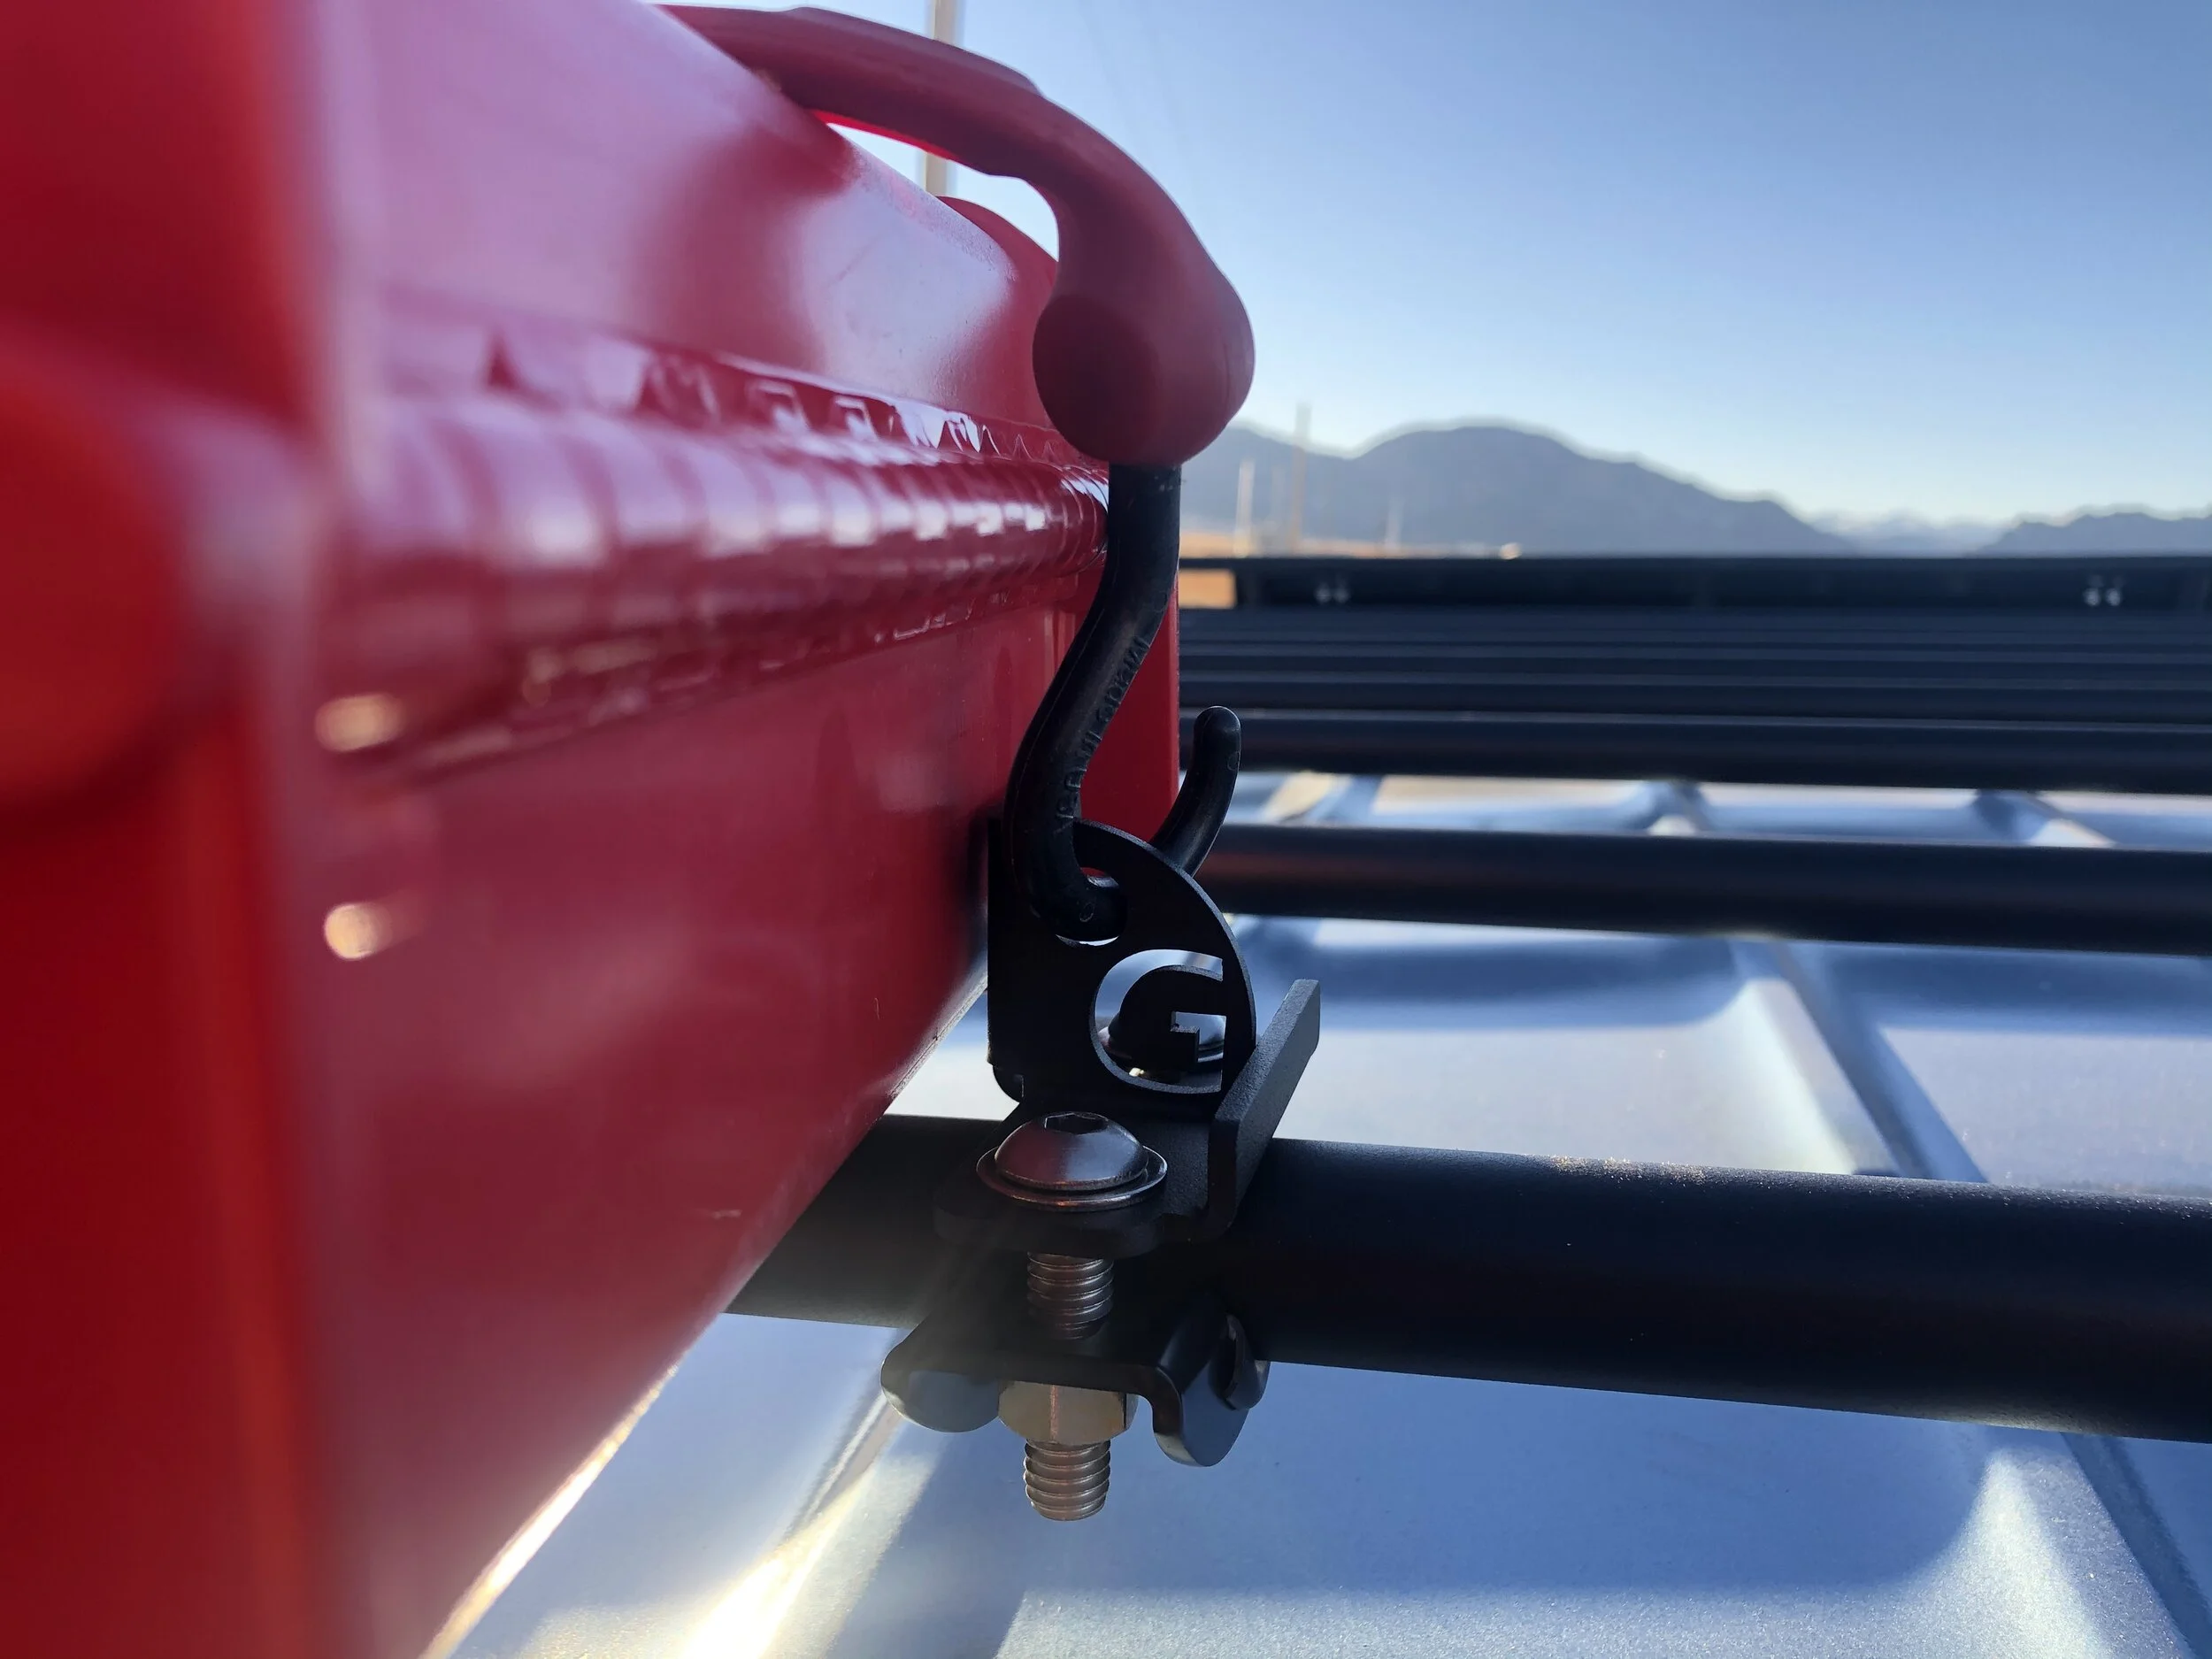
G brackets- one of the main design intents of the G Bracket is to provide a rigid stop for a case, while also providing an attachment point for a ratchet strap or bungee. G brackets can be attached to the rack plates directly, or the rack tubes using tube clamps. When used, the provide an area for your case to “nest” inside, preventing it from shifting in position, thereby reducing the load on your straps.
Plastic Clips- another Gamiviti design, these ABS plastic clips can be bolted to any flat surface, and when used in groups create a new method of gripping the round tubes of your roof rack. When combined with a cinch strap & snap pin, the combination results in a very secure method of securing cases, while retaining the ability to access the case when it’s installed on the rack, as well as a quick-release method of deployment.
Plastic Clip & Cinch Strap installs
As seen above, we’ve developed a fairly innovative method of installing plastic cases to Gamiviti racks, using a combination of our plastic clips, snap pins, and cinch straps. Shown here with the Apache 4800 case from Harbor Freight, this solution is applicable to a variety of cases on the market. Here are the instructions.. you can refer to this list while you watch the video below.
Determine where on your rack the case is going to go, relative to the rack cross bars and adjacent plates. Figure out the best place to run the strap, and where the clips will be grabbing onto the rack.
Install the pins through the side of the case by drilling 1/4” holes, putting the pin as high on the ribs as you can without interfering with the latch function.
Install the plastic clips to the bottom of the case, taking care to miss any raised ribbing. Drill holes and install plastic clips for one of the cross bars first, followed by adding the other row of clips. Measure the gap between the cross bars you are using, then subtract 1” from that measurement for the location of your second set of holes.
Example: most cross bars have a 9.5” gap between them, so your two rows of clips will have holes drilled 8.5” apart.
Tighten the plastic clips so that their radii are fully engaged with the cross bars, and the case is held in place without any lateral movement front to back. Add the cinch strap to tighten the case down tight to the rack, and prevent lateral movement side to side.
Case install kit
We’ve assembled all of the pieces used in the modification of the Apache 4800 case and put them in one kit. The kit contains 2 1/4” snap pins, 4 plastic clips, 8 1/4-20 bolts, washers, and flange nuts, and 1 cinch strap. These are all the pieces you need if you’d like to follow along with the video, and replicate the same case install on your Gamiviti rack.
Case install video
See this content again, in video format, including a step by step instruction for how to perform the Apache 4800 case modification using the install kit above.


